Bài viết được sự cho phép của tác giả Trần Hữu Cương
Chạy file jar giống như một service trên Ubuntu (Linux).
Trong bài này chúng ta sẽ thực hiện chạy 1 ứng dụng java (file .jar) trên ubuntu giống như 1 service (chạy ngầm). Tức là chúng ta có thể start, stop nó giống như 1 service hay có thể thể lựa chọn khởi động cùng hệ thống, xem log …
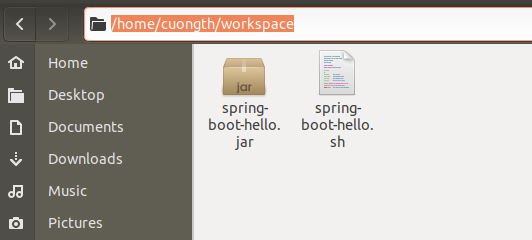
Giả sử mình có 1 file jar là spring-boot-hello.jar nằm trong folder /home/cuongth/workspace . Bây giờ mình sẽ thực hiện chạy file jar này giống như 1 service.
Bước 1: Tạo một service
Ở đây mình sẽ tạo 1 service với tên là spring-boot-hello. Do đó mình cần tạo file spring-boot-hello.service trong folder /etc/systemd/system với nội dung sau:
[Unit]

Description=Demo Spring Boot Hello

[Service]

User=cuongth

# The configuration file application.properties should be here:


#change this to your workspace

WorkingDirectory=/home/cuongth/workspace


#path to executable.

#executable is a bash script which calls jar file

ExecStart=/bin/bash /home/cuongth/workspace/spring-boot-hello.sh

SuccessExitStatus=143


TimeoutStopSec=10

Restart=on-failure

RestartSec=5


[Install]

WantedBy=multi-user.target
Trong đó:
Description: mô tả service

User: user dùng để chạy service

ExecStart: lệnh chạy script (ở đây mình chạy file bash ở vị trí: /home/cuongth/workspace/spring-boot-hello)
Để tạo file trên các bạn có thể dùng lệnh vi, rồi copy nội dung trên vào là được. (hoặc dùng text editor như nano, gedit…)
sudo vi /etc/systemd/system/spring-boot-hello.service
Bước 2: Tạo Script chạy file jar
spring-boot-hello.sh
/opt/java/jdk1.8.0_241/bin/java -jar spring-boot-hello.jar
Ở đây mình dùng lệnh java để chạy file spring-boot-hello.jar, hiện trên máy mình đang cài java ở folder /opt/java/jdk1.8.0_241. Các bạn sửa lại thành folder chứa java trên máy của các bạn là ok.
Cấp quyền thực thi cho file script:
sudo chmod +x spring-boot-hello.sh


Bước 3: Chạy service
sudo systemctl daemon-reload

sudo systemctl enable spring-boot-hello.service

sudo systemctl start spring-boot-hello

sudo systemctl status spring-boot-hello


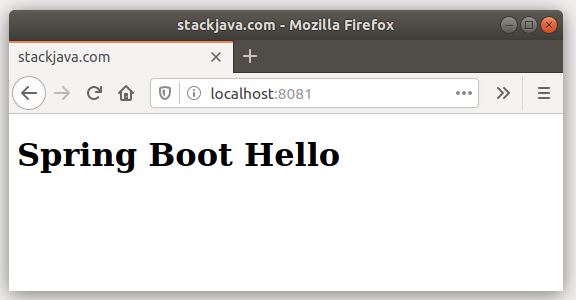
Trong file spring-boot-hello.jar của mình là 1 web app đã nhúng sẵn tomcat và chạy trên port 8081, sau khi start service thì truy cập đường dẫn http://localhost:8081 sẽ có kết quả như sau:


Bước 4: Xem log
Để xem log của service ta dùng lệnh sau:
sudo journalctl --unit=my-webapp . See real-time logs by using the -f option.
If you want to trim them, use -n <# of lines> to view the specified number of lines of the log:
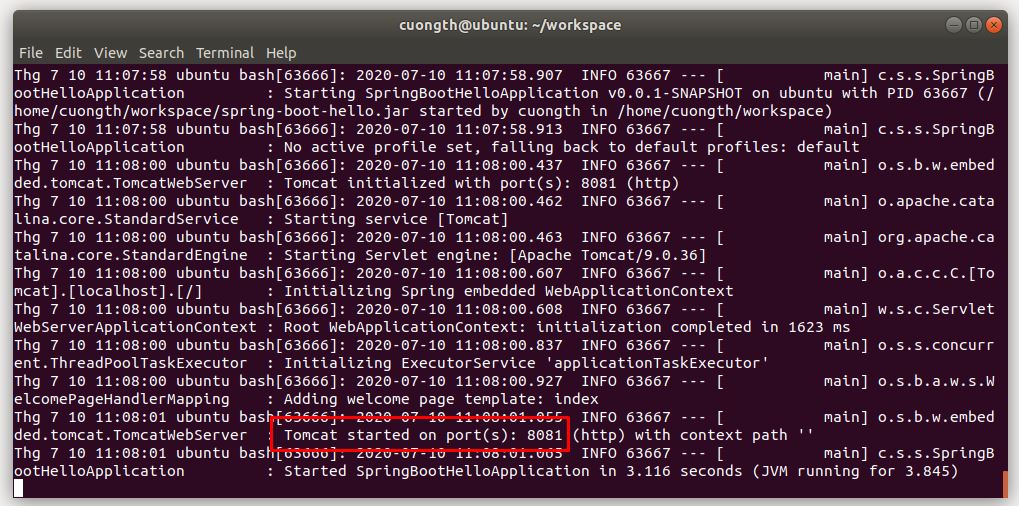
sudo journalctl -f -n 1000 -u spring-boot-hello
Trong đó:
-f: xem log realtime (log thay đổi gì sẽ hiện ra luôn)-n: hiển thị số dòng log từ thời điểm hiện tại về trước đó-u: tên service
Kết quả:


Để stop lại service ta dùng lệnh:
sudo systemctl stop spring-boot-hello
Để không cho service khởi động cùng hệ thống ta dùng lệnh:
sudo systemctl disable spring-boot-hello.service
Okay, Done!
Download file spring-boot-hello.jar tại đây https://github.com/stackjava/spring-boot-hello
Bài viết gốc được đăng tải tại stackjava.com
Có thể bạn quan tâm:
- Service Provider là gì? Tìm hiểu Service Provider trong Laravel
- Hướng dẫn sử dụng filebeat để đọc và quản lý logs hệ thống nginx trên ubuntu
- Chuỗi chuyên đề độc quyền về Serverless từ Amazon Web Services
Xem thêm Việc làm Developer hấp dẫn trên TopDev


